Previous Tutorial: Python Introduction (Part 3)
Python Introduction
Let’s continue with Python introduction tutorial. In the previous tutorial, we learned how to install Python. Now we are going to learn how to install an IDE. And we are going to use PyCharm as a Python IDE. But before installing an IDE, let’s see what an IDE is.
What is an IDE?
An IDE, or integrated development environment, is software that is used for writing code. It is also used for many purposes, but we are going to use IDE to write Python code. An IDE provides lots of tools to help programmers write proper code. Such as code editor, compiler, debugger, suggestion, social connect, etc. In the previous tutorial, we learned that we can do Python coding in CMD too. But CMD does not provide those tools that an IDE provides. So we are going to use the PyCharm IDE to write Python code.
Download PyCharm
First, we need to download the PyCharm IDE. Click here to download PyCharm from their official site. You will find two kinds of PyCharm on this site. The first one is not free; you have to purchase it, so scroll down and you’ll find the PyCharm Community Edition. This is open source and free. Download this version, or if you prefer, you can purchase the upper edition.
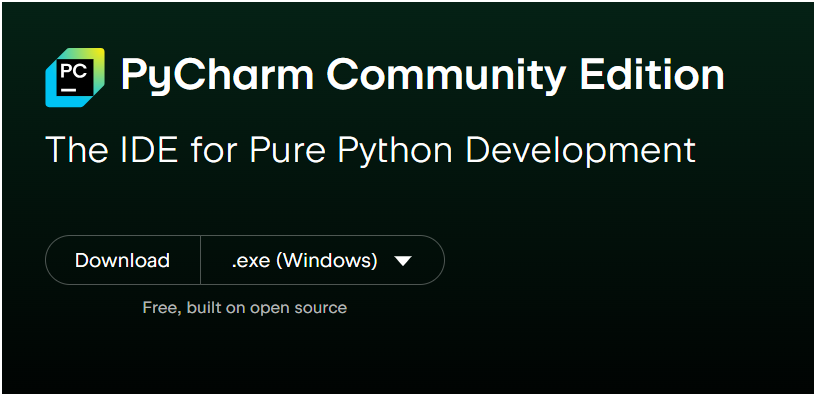
Click on the download, and the download will start.
Install PyCharm
After completing the download. Start the installation of PyCharm. The first screen looks like this:
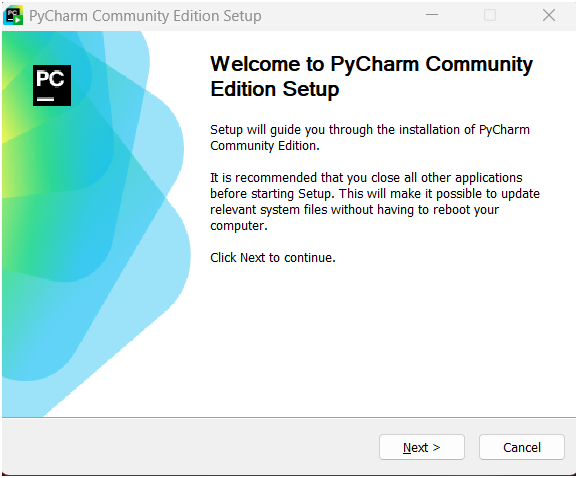
Click on the Next button.
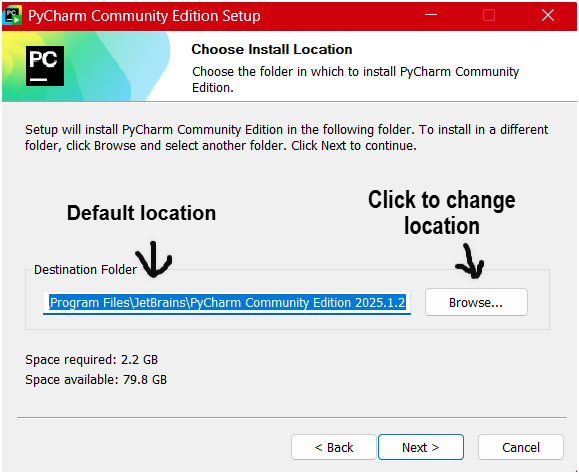
It will show the default location where PyCharm will store in your system; click on the Browse button if you want to store PyCharm in another location. After then, click on the Next button
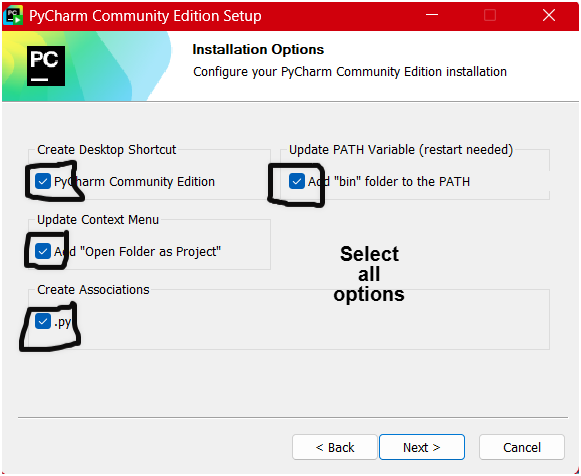
Select all these options, then click on the Next button.
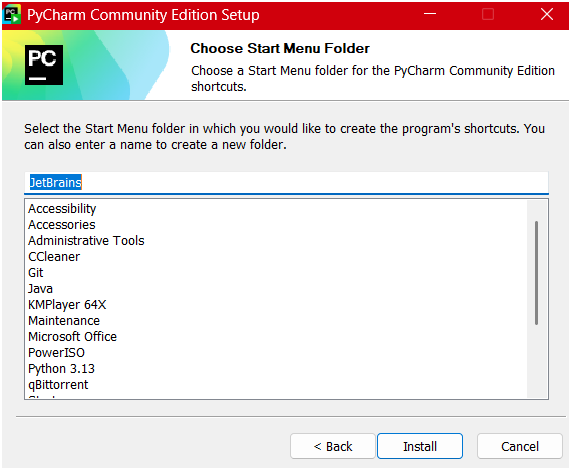
Click on the Install button.
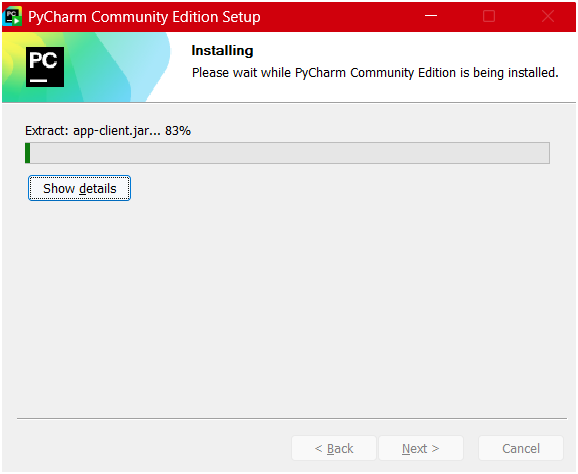
And installation will start.
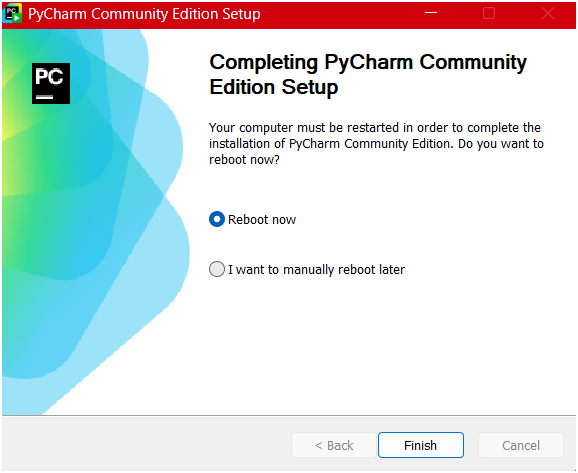
After completing the installation, this screen will appear. Select “Reboot now” and then click on the “Finish” button. Now, PyCharm is installed in your system.
Create a New Project in PyCharm
After installation, you will find a PyCharm shortcut on your desktop. Open it, and create a new project to write Python code.

It will open the menu.
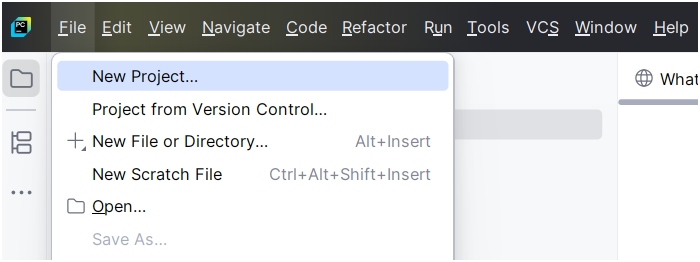
Click on New Project under the file menu.
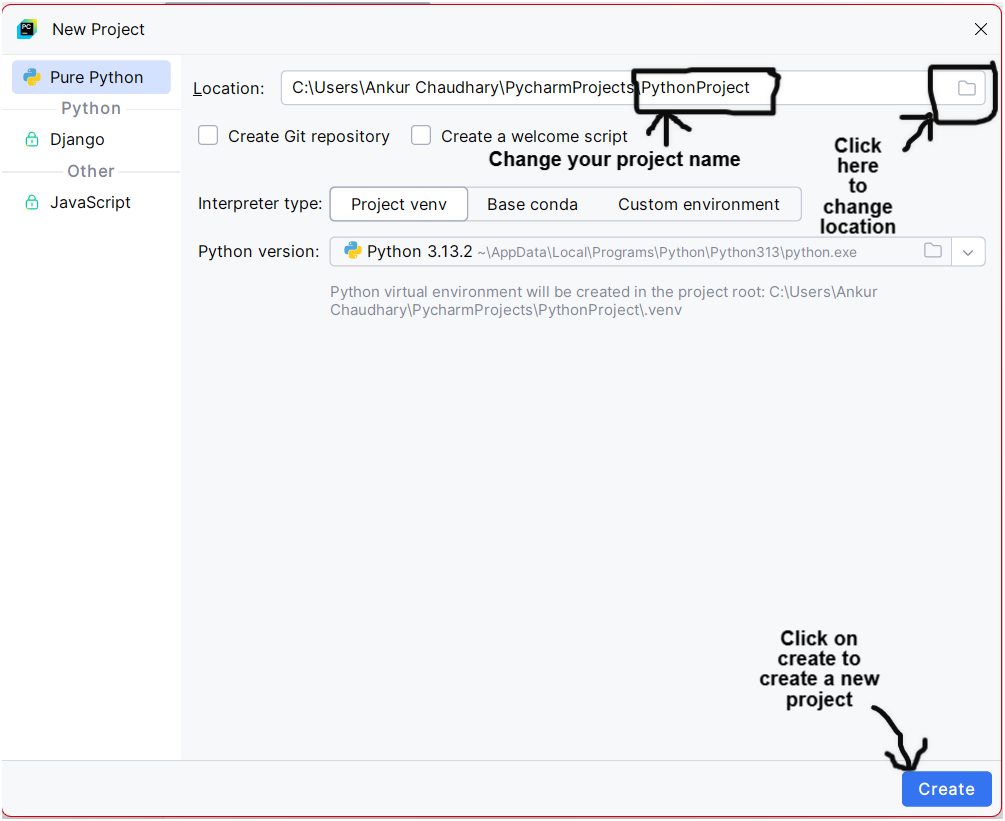
You can change the location of your project or only the name of the project. After that, click on the create button, and a new project is created. Open this project, or it will open it by default.
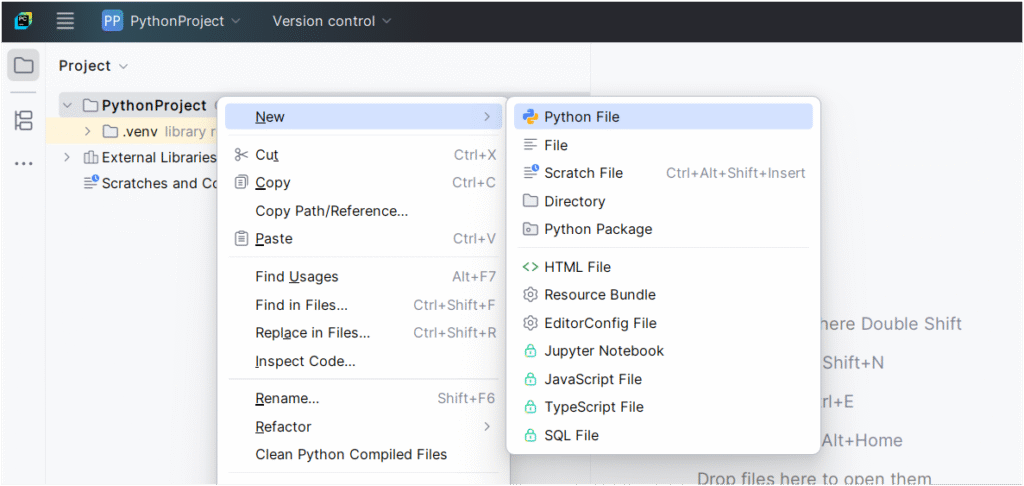
Right-click on your project name, select New, and then select Python File. Provide the name of your file.
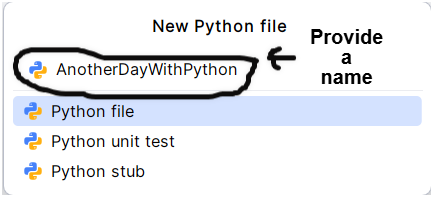
After typing the name, press enter. Now it will open your Python file. And you are ready to write Python code.
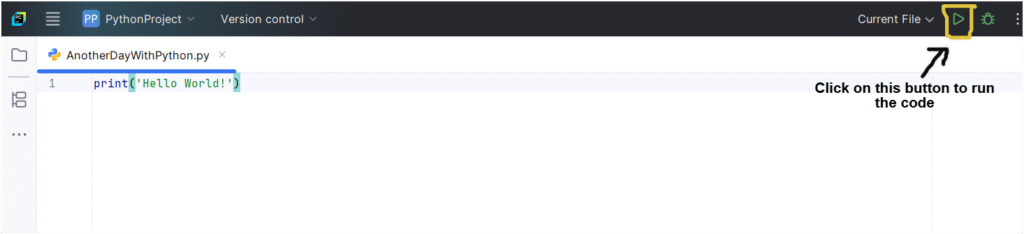
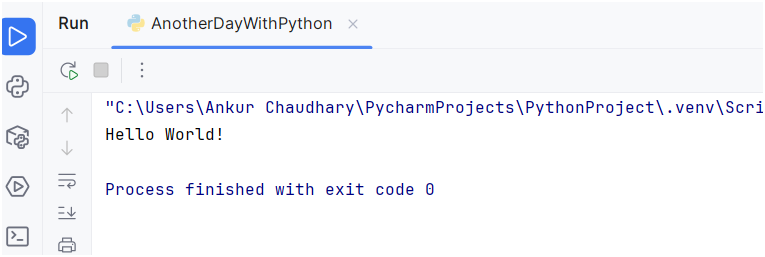
After writing the code, you can click on the button to run the code, or you can press the shortcut key Shift + F10. You will get the output on the below terminal.
So this is how we can create a new project in PyCharm.
Conclusion
This is the end of Python introduction (Part 4) tutorial. In this tutorial, we learned about what an IDE is. We learned how to install PyCharm. We need an IDE to write Python code. So PyCharm is an IDE, and we are going to write our Python code in PyCharm.
Next tutorial: Python Variables (Part 1)

2 thoughts on “Python Introduction (Part 4): PyCharm Installation”